Creative production
Video production: the ultimate guide
August 2024
20 mins
Table of contents
Your files, faster.
Access any file instantly, anywhere. Collaborate in real-time from one always-up-to-date, secure cloud filespace.
Every video producer has two plans: the one they wrote down, and the one they actually end up following.
You should always start with a plan. But you also need to understand the video production process well enough to adapt your plan when unexpected things happen — because they will. Every time.
Our ultimate guide to video production will give you that understanding, equipping you with the nimbleness to adapt to any situation.
By the end, you’ll know how to use today’s AI and cloud-based video production services to enhance your video production process on any and every project. We also promise you’ll pick up a ton of practical tips to save you time, effort and money along the way.
Video production: core concepts

What is video production?
Video production is simply the process of taking an idea and turning it into video. That idea might be for a lasagna recipe, or it might be for another series of Game of Thrones.
You don’t need us to tell you how ubiquitous, expected and compelling video can be in sharing big ideas, conveying emotions and getting people to act.
It’s everywhere.
Why is video production crucial today?
Apparently, 3.7 million videos are uploaded to YouTube every single day.
Users, customers, employees and communities expect to engage with video through instructional content, trailers, commercials, entertainment, interviews, short-form content and everything in between.
For businesses and marketers, video is crucial because it works. It connects, informs and convinces people to engage with you at a deeper level.
Video production vs videography
While the two terms could be interchangeable, videography most often refers to the process of creating content similar to wedding or event videos.
In videography the goal is to capture as much of the day as possible and then edit it into something usable after the fact.
Video production is usually a more planned and step-by-step process.
In-house video production vs. outsourcing: pros and cons
The decision to use in-house video production resources vs. outsourcing the project to freelancers or an external agency is usually based on a few common factors:
Cost
Access to talent
Depth of understanding
Turn around times
If you regularly make a lot of videos, it will be more cost-effective and efficient to run an in-house team. If you only make one or two videos here and there, hiring freelancers for those projects will be the obvious choice.
One advantage to using the same team, whether internal or external, on every video, is that you will benefit from the ‘compound interest’ of lessons learned on each project.
Lastly, another upside to working with an in-house team is that it is usually much quicker to turn a project around without liaising with outside contractors.
Video production and the cloud

Almost all video production today touches the cloud in the process.
From sharing synchronized assets, collaborating on project files, viewing hours of dailies and downloading very large final deliverables — it all happens in the cloud.
The alternative is to slowly send physical drives to far-flung locations. Then it’s time to sit back and wait for the upload and download of hundreds of assets while you manually try to keep everyone in sync, making it challenging to send videos without losing quality or causing delays.
A tedious and time-intensive process.
Thankfully, LucidLink makes waiting around for files a thing of the past. The storage collaboration platform gives you and your team on-demand access to files of any size, wherever you are.
This not only eliminates delays, it saves you the expense of maintaining costly on-premise hardware and off-site backups.
It also opens up the chance to access talented creative post-production artists around the world. Better still, you can work without waiting for them to download project files or manually send you new versions to look at. It all happens on LucidLink instantly.
Understanding the main stages of video production
Pre-production
Failing to plan is planning to fail.
This is the first stage of video production and the most important to take time over. The more robust your planning the easier your execution will be.
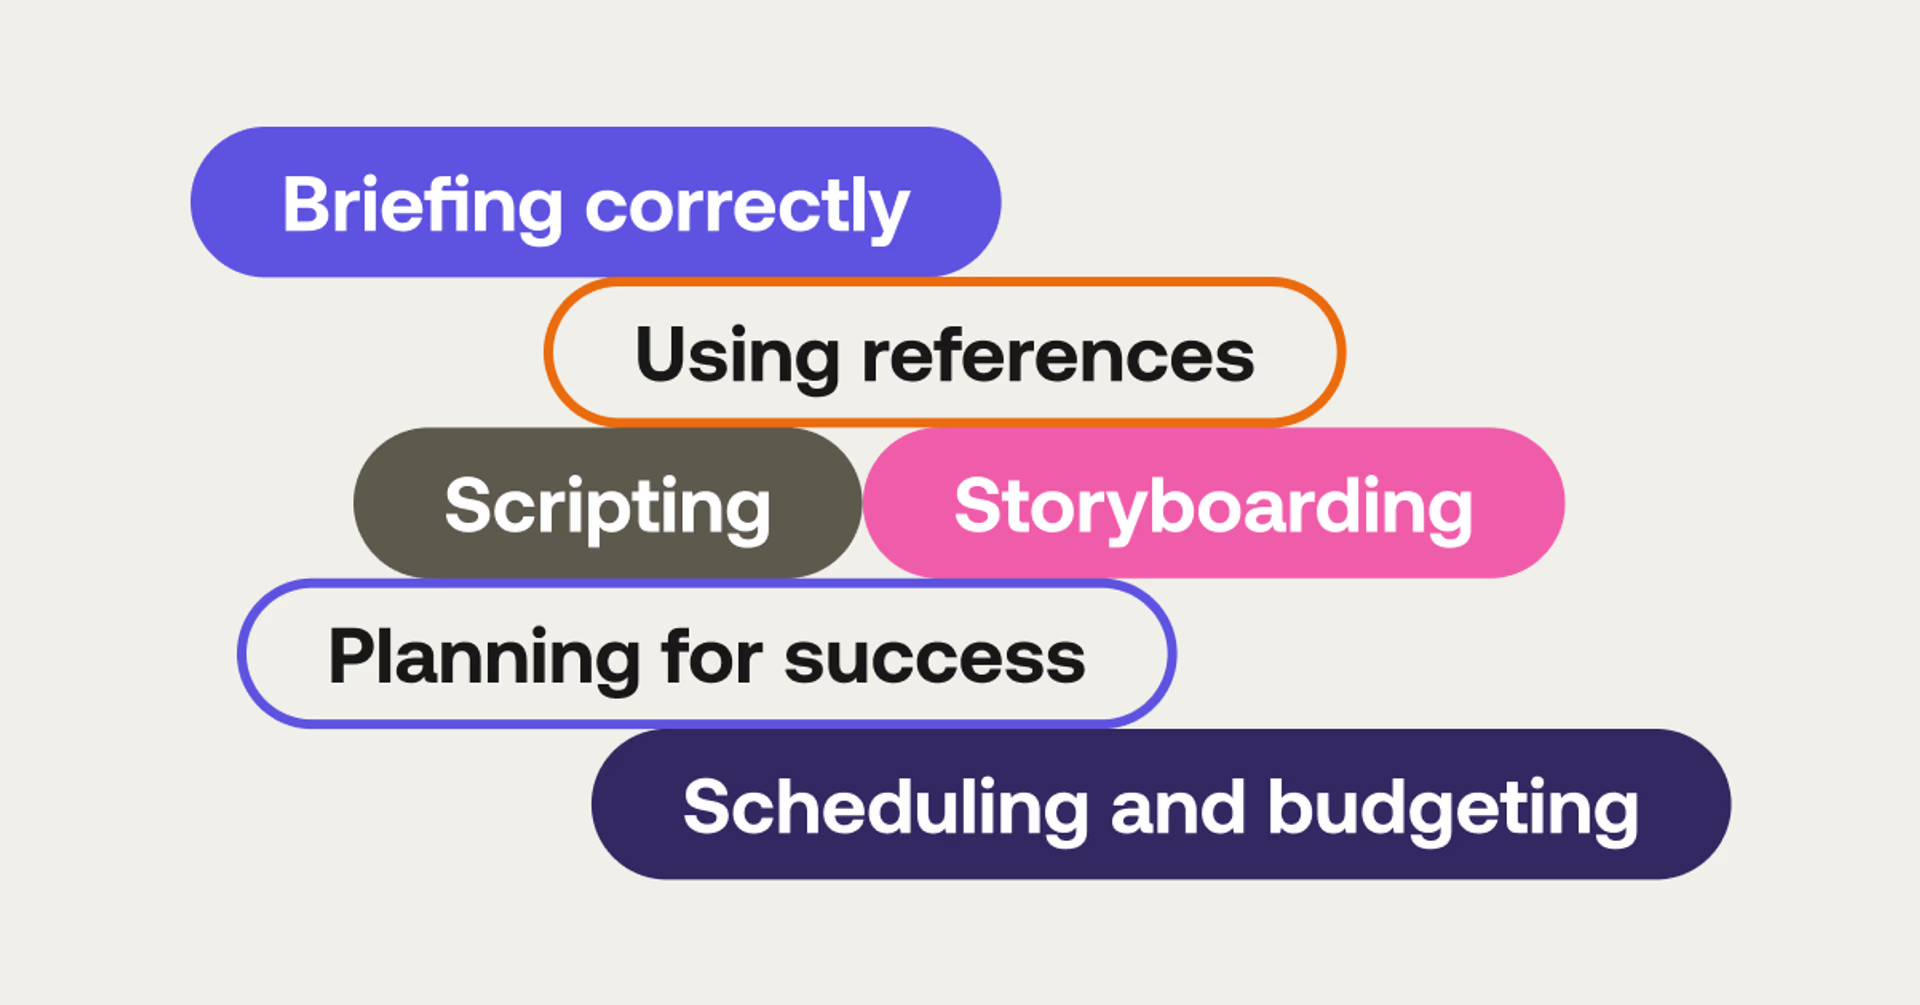
The stage can be divided into four main tasks, which are spread across all of our pre-production phases: setting your goal and core idea, planning your visuals, organizing your team and establishing your timeline.
Briefing correctly
There’s an old saying in Hollywood that Third Act problems are First Act Problems. This means problems that arise at the end of the project have their roots in the beginning. Nowhere is this more true than in a video production workflow.
Taking the time to sufficiently question your client/producer/director about the project is crucial to avoiding issues later.
This is especially true if they’ve supplied you with a written brief of what they want. While it feels like you should have a common understanding, you often don’t.
Ask questions like:
Who are we trying to talk to?
What are we trying to say?
Why are we saying it?
What do we want them to think/feel/do as a result?
What would success look like?
How will we measure that?
How will the final product be used/distributed/watched/experienced?
How will it fit in (with the brand/website/world/etc.)?
What is the single most important thing this is all about?
To finish a briefing session, ask, ‘Let me see if I’ve got this right…’ and then explain what you think they mean back to them. This quickly exposes any gaps in your shared understanding and lets you fill them through further discussion.
One crucial question to ask is: Who has the final sign off?
If that person isn’t looped in at this stage, they might be in for an unpleasant surprise when the final cut lands.
To avoid last-minute drama, it’s best to involve them early and get their feedback upfront — ideally from the very beginning of the video production process. Smart video production project management ensures the right people are aligned at every step, keeping creative and client expectations in sync.
AI tip
Record your briefing conversations and give Chat-GPT or Claude.ai the transcript to summarize your conversation, create task lists, extract specific details and evaluate the questions you asked.
Using references
If you’re working with a client or trying to communicate your idea to others, being able to point at a picture and say ‘like this’ is one of the fastest ways to get on the same page.
But while reference clips on YouTube can be helpful, it’s important to be specific about which part of the reference anyone is talking about.
If a client sends a clip and says “I really like the style of this” — do they mean the colors, the music, the graphics, the locations, the feeling of it?
The best way to use references is in a meeting where you can ask specific questions and make sure you’re both latching onto the same idea.
Pro tip
Use a video review tool like Frame.io to upload your references and add time coded comments to specific sections or draw on the image so it’s really clear which bit you are referring to.
Script
A script is crucial to define the scope and scale of your project. A script can be anything from a professionally formatted hour of TV drama to a list of bullet points outlining the core ideas you want to communicate.
The main things to consider in a script are:
Do the right ideas appear in the right order?
Does the dialogue sound natural and believable?
Are the cast and locations clearly defined?
What will we see on screen? Images, graphics, text?
What will we hear: music, voiceover, sound effects?
Ultimately the script will reflect the style and complexity of your video production. If your video is simple (CEO talking to camera) your script is likely to be quite simple (list of key talking points).
Storyboards
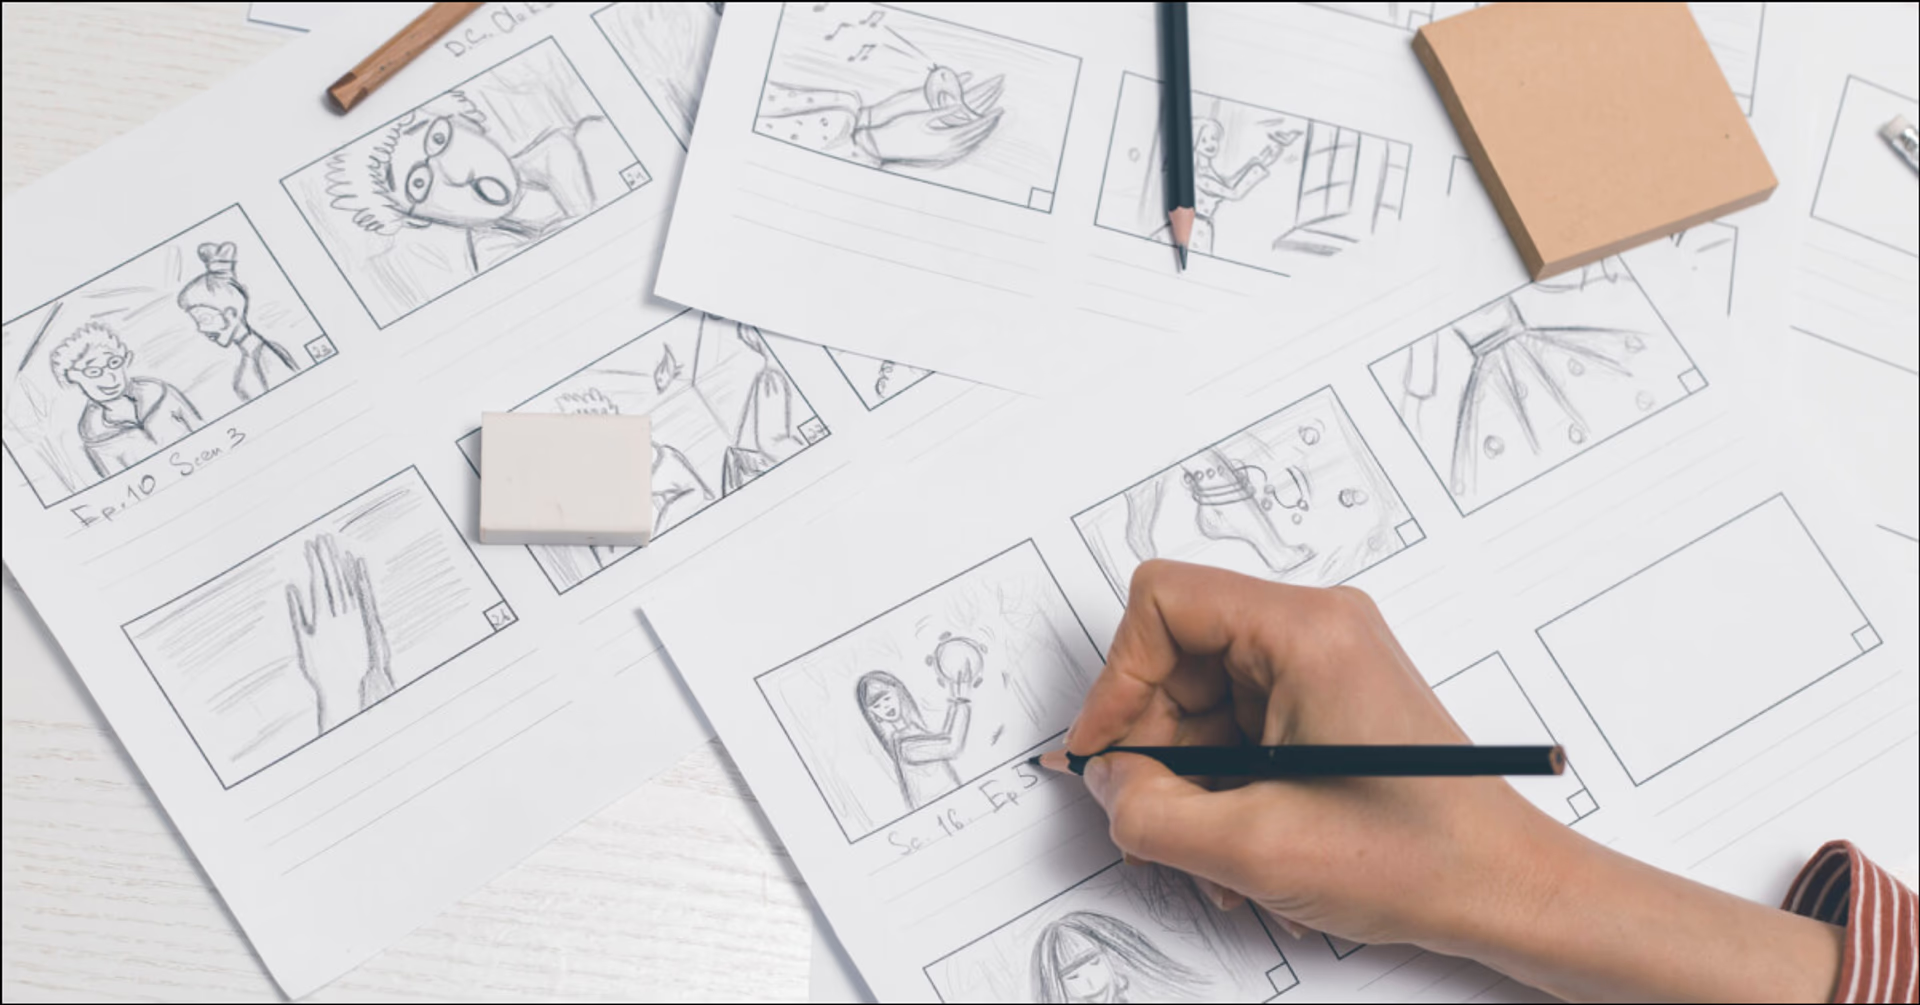
These take your script and transform it into a series of images/doodles/sketches that are a shot-by-shot comic book of your project.
They don’t need to be artistic masterpieces — Director Ridley Scott is famous for his scratched-out doodles — but they do need to accurately depict what will be on screen.
Storyboards are the visual roadmap of what we will see:
How close or far away is the camera from the subject?
Is it a moving shot?
What important objects or locations are in the frame?
How do the visuals change throughout the scene?
Resources like shotdeck.com give you access to over 1.2 million cinematic images, which you can search and download to use in a mood or storyboard. These images will give you excellent ideas on how to frame and move your camera.
AI tip
Image-to-image or text-to-image generators like Runway.ml or Midjourney can help you create images to use as storyboards. But be careful that lots of extra details don’t find their way into the boards that aren’t what you intended. This is often why a simple pencil sketch style is better than full-color photography.
Planning successfully

Now that you have your brief, references, script and storyboard, you can start to plan your video production. Essentially, you need to make lists of everything you’ll need to deliver your video production successfully.
Based on the script and the storyboard make a list of the following components:
Locations
Cast
Props
Equipment
Crew
Extra Resources
Now is the time to see whether all of those amazing ideas on paper are achievable in real life. If not, it might be a good idea to revise your script and storyboard to simplify your project.
Can you substitute that helicopter shot for some stock footage? Does the scene work just as well in a smaller location?
The main goal of this stage of your video production process is to give your team the best chance of actually delivering the project by bringing a reality check on its scope. Make creative revisions if you can without dampening your ambition too much.
Scheduling and budgeting
Once you’re happy with your plan, you need to write a schedule for each stage of the production and post-production.
How many days can you afford to shoot?
How many days will be required for editing?
Which cast and crew are needed on each day?
What is the final deadline?
When do internal reviews and revisions need to happen?
What is our backup plan?
An important part of this stage of the video production process is to build in some contingency reserves. You need a buffer should things go wrong or take longer than planned — both in terms of time and money.
On complex video productions it is sometimes helpful to plan for re-shoots or to break up the phases of production with a little post-production in between.
For example, let’s say you’re filming a lot of interview material for a documentary. You might want to edit these into the film's structure first and then plan to shoot the illustrative material (cutaways, re-enactments, illustrations, etc.) after this has been completed. That way the final structure reveals what you need to film next.
Pro tip
Being able to share all of these plans, scripts, references, storyboards and more in a single, unified, online platform is essential to keeping every member of your video production team in lock-step — especially its remote production. LucidLink gives you that single source of truth by keeping every file, no matter how large, instantly accessible and in sync across the globe.
Production
Finally, the day has arrived, you’re actually going to make something!
The production stage of every video production can be one of the most exciting parts of the process. Getting up early, carrying heavy gear and recording something memorable on screen.
Crewing up
Find the best talent you can and try not to skimp on assistants. You’ll need to find the right talent for the job, in front of and behind the camera.
Crew - Depending on the complexity of your video production you will need someone in charge of these key areas:
Director - Holds the vision and makes all the key decisions
Assistant Director - Chief of Staff to the director, often runs the crew on set and keeps production moving
Producer - Partner to the director, helps keep to budget and schedule
Camera - This can be one person or a whole department. (e.g. Director of Photography, Camera Assistant, Clapper/Loader, Gaffer, Key Grip etc.)
Sound - Can be one person or a whole department. (Sound Recordist, Boom Operator, Assistants.)
Hair/Make Up - Even on a one-person interview having a little blusher to take the shine off a forehead can really help.
Costumes/Props - These need designing, managing, fixing and coordinating
Catering - Potentially the most important hire — an army marches on its stomach.
Pro tip
If there’s one thing that can make production a more enjoyable experience it’s having decent snacks and food on hand to keep everyone well fed, watered and calm during the chaos of a shoot.
Cast
Finding the right actors or contributors to your project is the domain of directors, with the help of casting directors on large productions.
Engaging, interesting and unusual characters are a surefire way to make your final film more interesting to watch. Diversity and inclusivity aren’t just boxes to be checked but can be guiding principles for discovering hidden talent.
Shooting
This is where the “getting punched in the mouth” part of the planning process often happens. Not everything goes to plan all of the time.
You may have to change locations at the last minute if the weather or the light don’t cooperate. Sometimes an actor or contributor's performance takes longer to get right than the scheduled presumed.
Do the best you can with what you have and be as creative as possible. Above all, remember that you’re making a video. It should be fun!
What matters is what the camera can see and the audience will believe, even if you have to ‘cheat’ things on the day the audience will never know.
Digital workflow
One key aspect of video production is designing and testing your digital workflow with all of the key players.
How will your footage be shared from production to post-production?
What file formats are the editors expecting?
How will backups of your data be made on set?
What platform will you use for sharing that day’s footage (dailies) for review?
Pro tip
One simple solution to sending large video files fresh from the camera is to upload them to LucidLink.With one shared filespace, all your footage is instantly available to the rest of your creative team.
Thanks to LucidLink’s unique file streaming tech you access just the frames you need, without downloading the entire file.
This means your editor can get started almost as soon as the director has yelled cut.
Re-shoots
Hoping for the best and planning for the worst is a solid strategy for anyone taking on video production. This includes planning to re-shoot.
Sometimes this can be as simple as filming a close-up of an actor saying a specific line of dialogue to cheat into an existing scene, recording new lines of off-screen dialogue as ADR (additional dialogue replacement) to lay underneath a reaction shot, or even filming whole new scenes that add an important structural element to the final film.
Adding the possibility of a reshoot to your schedule and budget relieves some of the pressure on the main production shooting block and allows for greater creativity in post-production.
Post-production
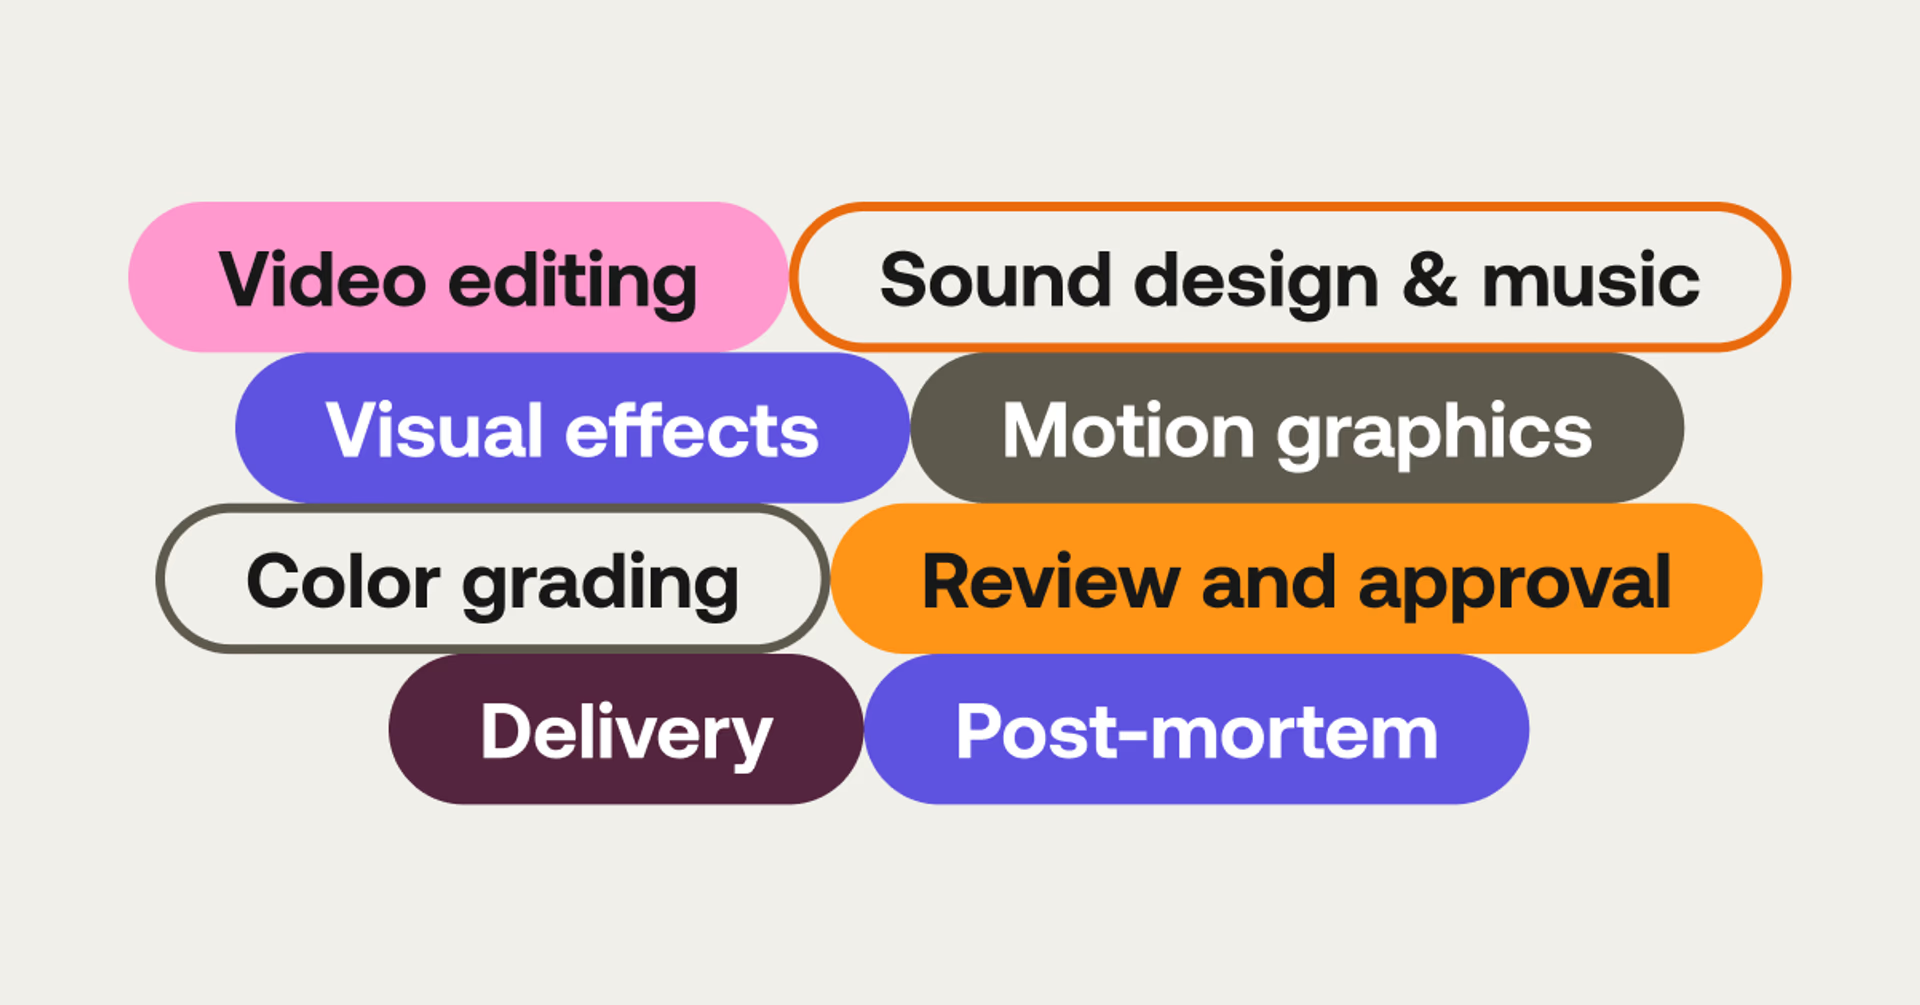
This is where the final project, especially in marketing video production, comes together and reaches its intended audience.
The amount of time and attention that each of these stages will receive in your particular video post-production workflow will vary depending on your budget and final requirements. But every video project touches on most of these as it’s polished to perfection.
Video editing
The bulk of the post-production stage will be spent taking your raw footage and crafting it into your final video edit. This process has two sides: technical and creative.
From a creative standpoint, the most important part of the video editing stage is ensuring that the right ideas are communicated in the right order by the right people.
It takes practiced storytelling skills to weave a compelling narrative but the basics of a beginning, a middle and an end are universal to every story.
Common corporate narratives are shaped along a problem > complication > solution framework.
Pro tip
A good rule of thumb is that shorter really is better. Be concise, remember if you’re finding something boring — so will your audience! If in doubt, cut it out.
A vital part of the editing process, especially when video editing remotely, is showing rough versions to your main stakeholders and anyone who will have the final say on the project. Editing is an iterative process that requires a lot of experimentation and creativity to arrive at the final result.
From a technical perspective, there is a lot to manage.
You need to:
Transfer, store and back up all of your valuable media.
Organize, share and evaluate every frame.
Synchronize sound and picture (potentially across multiple sources)
Create your rough cut
Make sure all of your color and sound adhere to professional standards
Share edits for review
Create all versions of your final deliverables (e.g. social media re-edits)
LucidLink is the perfect platform to do all of this. Your entire team can remotely access every asset in the project, from the cloud, as if it were on a local drive.
For video editors this lets you stream just the frames you need to edit with from inside your collaborative video editing software, all without downloading any of your media files.
And because everyone works from the same online version, there’s no need to share anything to keep everyone in sync. It’s fast and efficient.
Once you are happy with your rough cut you can then move on to the next stages, which either add further layers of polish or help to fix mistakes that have crept in along the way.
Sound design
Sound is in many ways, more important than picture.
If we can hear what someone is saying and it’s interesting, we don’t mind watching less-than-perfect pictures.
Most projects will feature a mix of sound categories including:
Dialogue
Sound effects
Sound design
Music
AI tip
Use dialogue enhancement tools like Adobe Enhance, Riverside Magic Audio, ElevenLabs Vocal Isolator or Descript’s Studio Sound. These will rescue badly recorded dialogue and remove unwanted background sound.
Many video productions only use dialogue and music, but the art of mixing these two together is an important part of the process. In general, keep your background music low during dialogue and raise it up to bring energy back into the edit when no one is speaking.
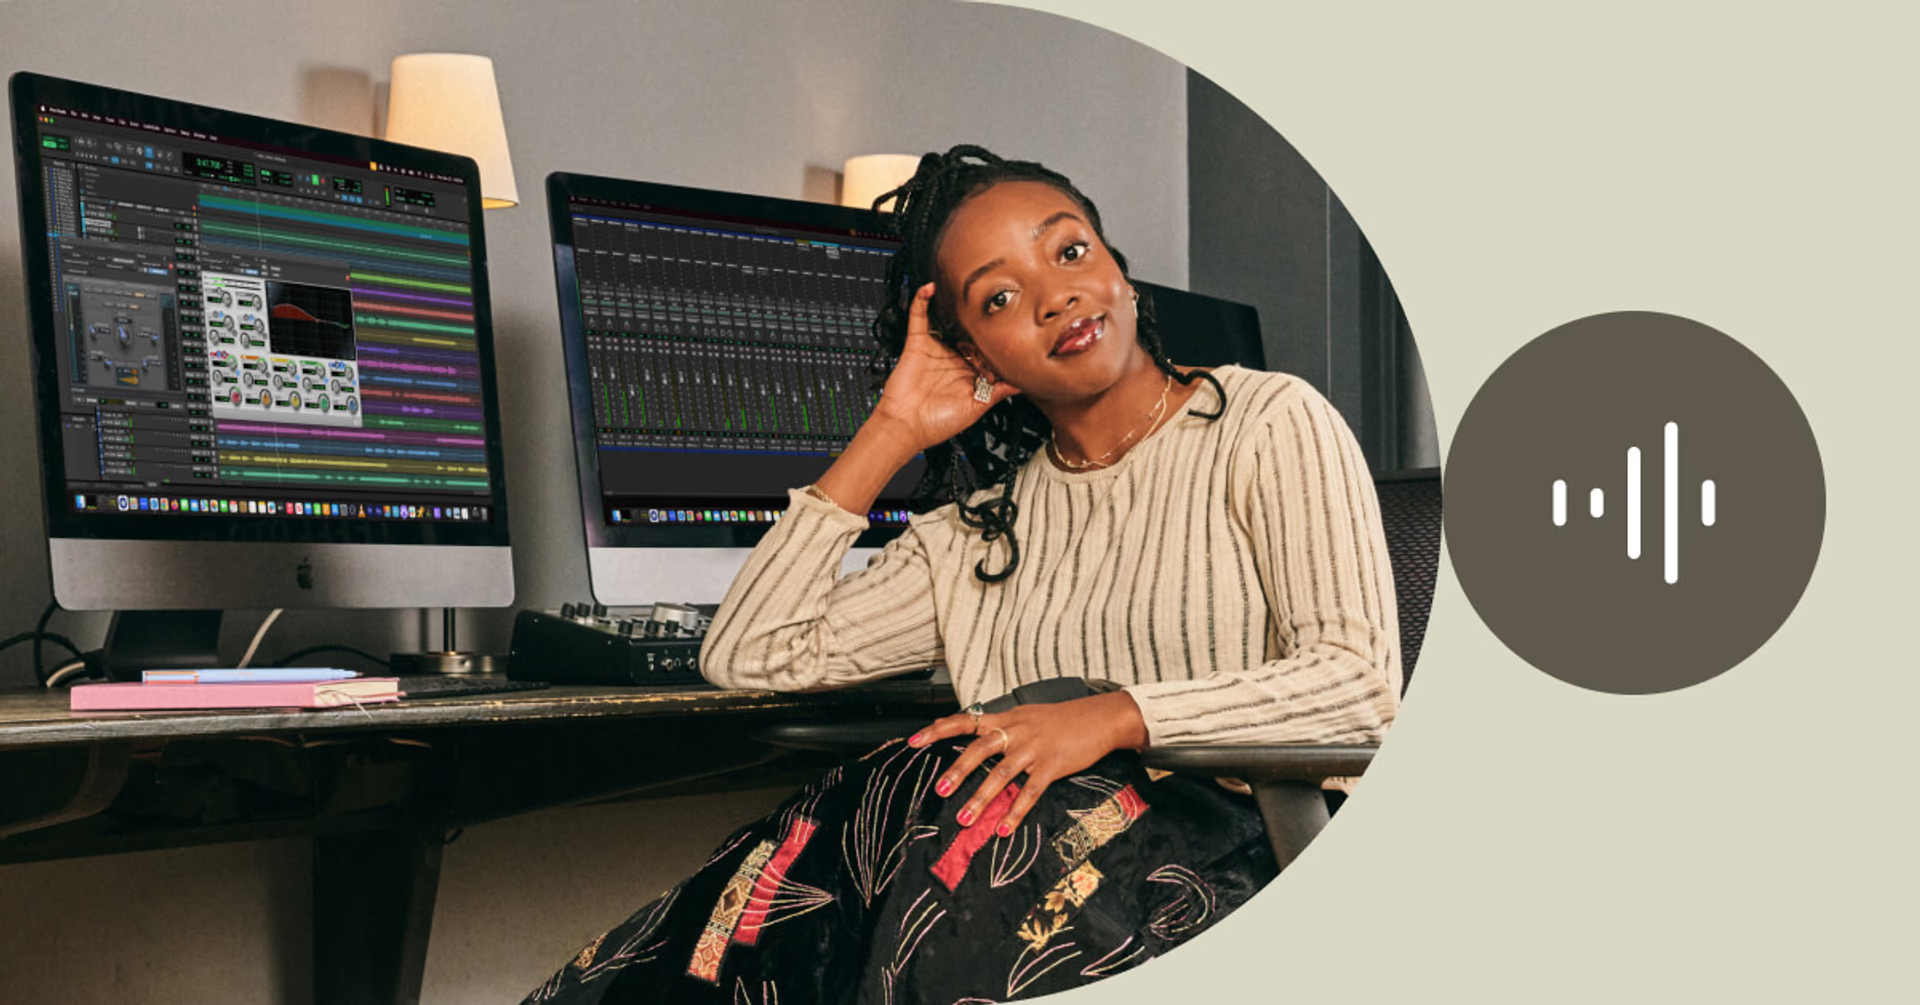
Sound effects can play an important part in building your narrative. They’re especially important in animation and motion graphics pieces as these are otherwise devoid of sound.
Many online royalty-free music libraries also have sound effects. If your video production has one, your sound designer will have a sound effects library to draw from.
Sound design focuses more on ambient background sounds, audio textures and subtle sounds that create a specific feeling during an edit.
This ranges from an ominous drone as the main character creeps down the corridor at night, or happy background chatter to make a restaurant scene seem busier than it really was.
Music tracks are subject to copyright law, which means you can’t just throw your favorite pop tune under your edit and hope for the best. You need to get permission from the original recording artists and pay a license fee.
That said, there are hundreds of subscription music libraries online, such as Artlist, Epidemic Sounds or Premiumbeat, that offer ‘royalty-free production music’ to use in your videos as much as you like.
Choosing the right music track for your edit is an art in itself and the most common task in the post-production stage is to ‘change the music’.
Visual effects
Visual effects (VFX) in larger video productions include everything from flying dragons to sci-fi landscapes. Almost every big-budget film or TV show today depends on a complex VFX pipeline to bring those visuals to life.
In smaller productions, the VFX pipeline might be simpler — used to remove a coffee cup from a shot or swap out a greenscreen background.
No matter the scale, VFX artists deliver magical results — but their time and skills come at a premium, making efficiency across the pipeline essential.
That said, more and more AI-powered tools are making some of this work, such as cutting out an object in a moving shot and replacing it with another object, achievable in a couple of clicks.
Most of the time though, it is faster and cheaper to achieve the effect in-camera if you can.
Color grading

Color grading and color correction refer to the process of correcting your visual images to make them look technically correct and thematically appropriate.
For example, if you had two cameras filming the same scene but had different settings applied during recording, the final shots won’t cut together very well. Color correction can make them look consistent and blend seamlessly across the edits.
Applying a color grade, the aesthetic look to the film, such as a gritty war look or a warm and friendly rom-com vibe - is usually one of the final stages of a video production when the final edit has been signed off and no further changes will be made.
On lower-budget video productions that don’t have a dedicated colorist, your editor will usually take care of these duties as best they can. They will often apply a preset filter called a LUT to the footage to emulate the work of a professional colorist.
As with sound design, superior color grading adds a level of professional polish to a project that is often hard to put your finger on, but makes all the difference.
Pro tip
After working with your ungraded video footage for such a long time during your video editing stage, try to approach the color grading process with an open mind. It can be easy to feel like it looked better during the edit, but that’s just because you’ve grown used to how it looks.
Motion graphics
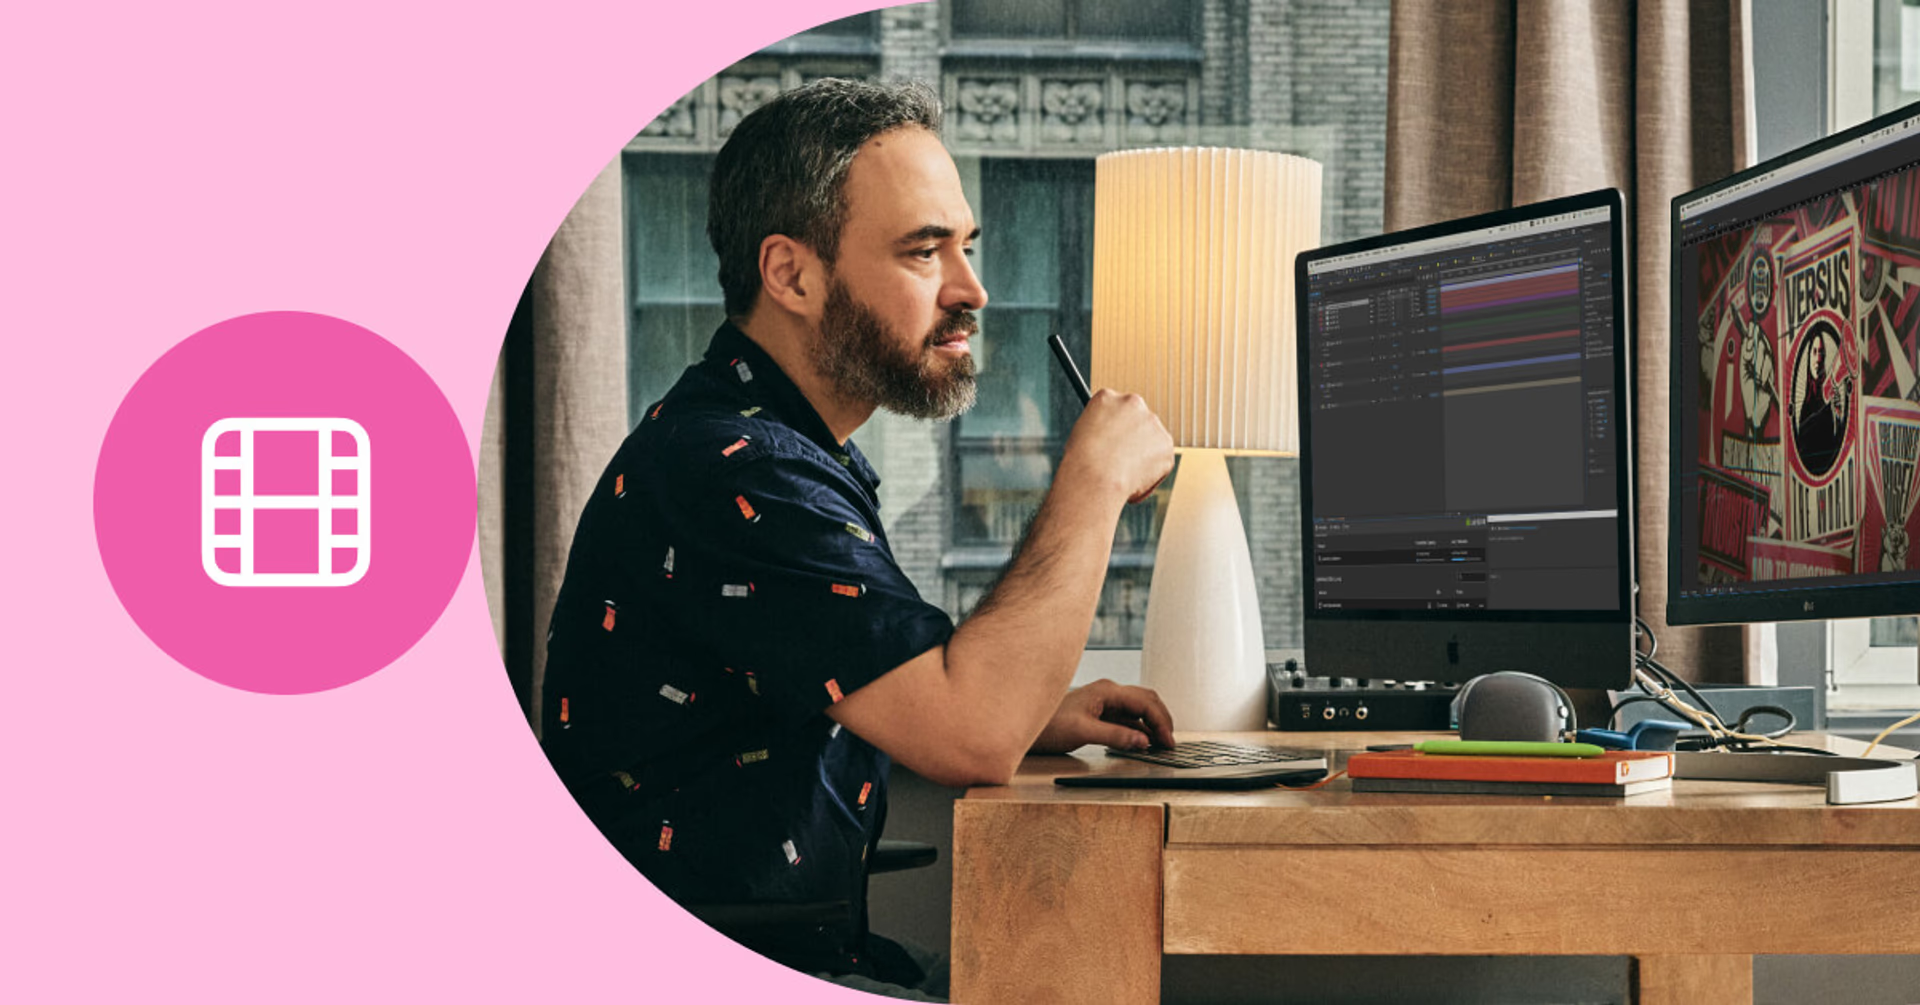
Animations and motion graphics are very common in corporate, charity and online content video productions. A few well-designed visuals can communicate a lot of information succinctly.
Motion graphics artists also create title designs, trailer graphics and ‘pack shots’ at the end of commercials.
As with visual effects, having access to a talented motion graphics designer is usually reserved for productions that can afford them. But most editors can handle simple animations, name straps and titles or access a library of templates and presets that make this work easier.
Pro tip
There will always be spelling mistakes and typos in onscreen text. Check and double-check your work!
Review and approval
This is the final stage of the video production, in which everyone with final authority over the project must sign off on the completed project.
This is also the last opportunity to make changes, even if those changes are costly at this late stage.
Online video review tools like Frame.io can be helpful for gathering feedback with timestamped notes, although this can lead to several rounds of iterative changes.
Pro tip
The most efficient way to gather and implement everyone’s feedback on a project is to get them together at the same time to view the final version.
If there is conflicting feedback they can argue it out on the spot and usually the ‘boss’ has the final say.
Using a shared collaboration platform like LucidLink to host the final files also means that everyone is looking at the correct file and hasn’t opened an old link.
Delivery
Thanks to LucidLink’s ability to handle massive file sizes, you can easily share your final deliverable files directly from the platform, saving you yet more time and effort in unnecessary file transfers or expired download links.
Just be sure to check that your client or end-user really has downloaded the final files and stored them somewhere safely for future use.
Post-Mortem
Phew! You’ve made it to the end of this ultimate guide and to the end of your video production process. Congratulations.
It’s time to do one last thing: conduct a post-mortem on the project. Ask yourself and those involved:
What went well?
What mistakes can we learn from?
How could we have improved the process?
Did the video succeed in meeting its initial goals?
How will we measure the ongoing success of the project?
If the project went smoothly, now's a good time to gather testimonials or feedback to use in selling your video production services to other clients or producers.
It’s also worth asking if this video will need to be updated in the future and laying out a plan to do so, making the most of the initial investment in the video and extending its useful working life.
Hopefully, you’ve enjoyed the process enough to want to do it all over again!
Bonus: 11 tips for a streamlined video production process
Whether you skipped to the end or made it the whole way through, let’s finish with a round-up of the video production tips we’ve covered along the way.

Pre-production tips
1. Briefing correctly
AI tip: Record your briefing conversations and give Chat-GPT or Claude.ai the transcript to summarize your conversation, create task lists, pull out specific details and evaluate the questions you asked.
2. Using references
Pro tip: Use a video review tool like Frame.io to upload your references and add time-coded comments to specific sections or draw on the image so it’s really clear which bit you are referring to.
3. Script and storyboard
AI tip: Image-to-image or text-to-image generators like Runway.ml or Midjourney can help you create images to use as storyboards, but be careful that lots of extra details don’t find their way into the boards that aren’t what you intended. This is often why a simple pencil sketch style is better than full-color photography.
4. Planning successfully
Pro tip: Being able to share all of these plans, scripts, references, storyboards, etc. in a single, unified, online platform is essential to keeping every member of your video production in lock-step with each other. LucidLink gives you that single source of truth by keeping every file, no matter how large, in sync.
Production tips
5. Crewing Up
Pro tip: Make production a more enjoyable experience by having decent snacks and food on hand to keep everyone well-fed, watered and calm during the chaos of a shoot.
6. Shooting
Pro tip: One simple solution to sharing large media files fresh from the camera is to upload them to LucidLink’s collaborative file-sharing platform to instantly make that footage available to the rest of your creative team.
Post-Production tips
7. Video editing
Pro tip: A good rule of thumb is that shorter is better. Be concise. Remember if you find something boring - so will your audience! If in doubt, cut it out.
8. Sound design
AI tip: Use dialogue enhancement tools like Adobe Enhance, Riverside Magic Audio, ElevenLabs Vocal Isolator or Descript’s Studio Sound. These will rescue badly recorded dialogue and remove unwanted background sound.
9. Color grading
Pro tip: After working with your ungraded video footage for such a long time during your video editing stage, try to approach the color grading process with an open mind. It can be easy to feel like it looked better during the edit, but that’s just because you’ve grown used to how it looks.
10. Motion graphics
Pro tip: There will always be spelling mistakes and typos in onscreen text. Check and double-check your work!
11. Review and approval
Pro tip: The most efficient way to gather and implement everyone’s feedback on a project is to get them together at the same time to view the final version. If there is conflicting feedback they can argue it out on the spot and usually the ‘boss’ has the final say.
One last video production tip. Try LucidLink free today to see how you can work with teammates on video files of any size anywhere, anytime.
Keep reading

Creative production
Unlocking the potential of your media library with AI and real-time access
Explore how AI and real-time access make your media library searchable, actionable and ready for faster, smarter storytelling.
16 December 2025, 5 mins read

Creative production
How to build a creative workflow that really flows
Discover how to build a seamless creative workflow using practical strategies and tools. Get tips for collaboration and creative project management.
26 November 2025, 17 mins read

Creative production
Sports video editing: the complete guide for sports highlights and video editing
Learn how to create pro-level sports highlight videos with the best sports video editing software. Tips, tools and real-world workflows included.
20 November 2025, 7 mins read
Join our newsletter
Get all our latest news and creative tips
Want the details? Read our Privacy Policy. Not loving our emails?
Unsubscribe anytime or drop us a note at support@lucidlink.com.