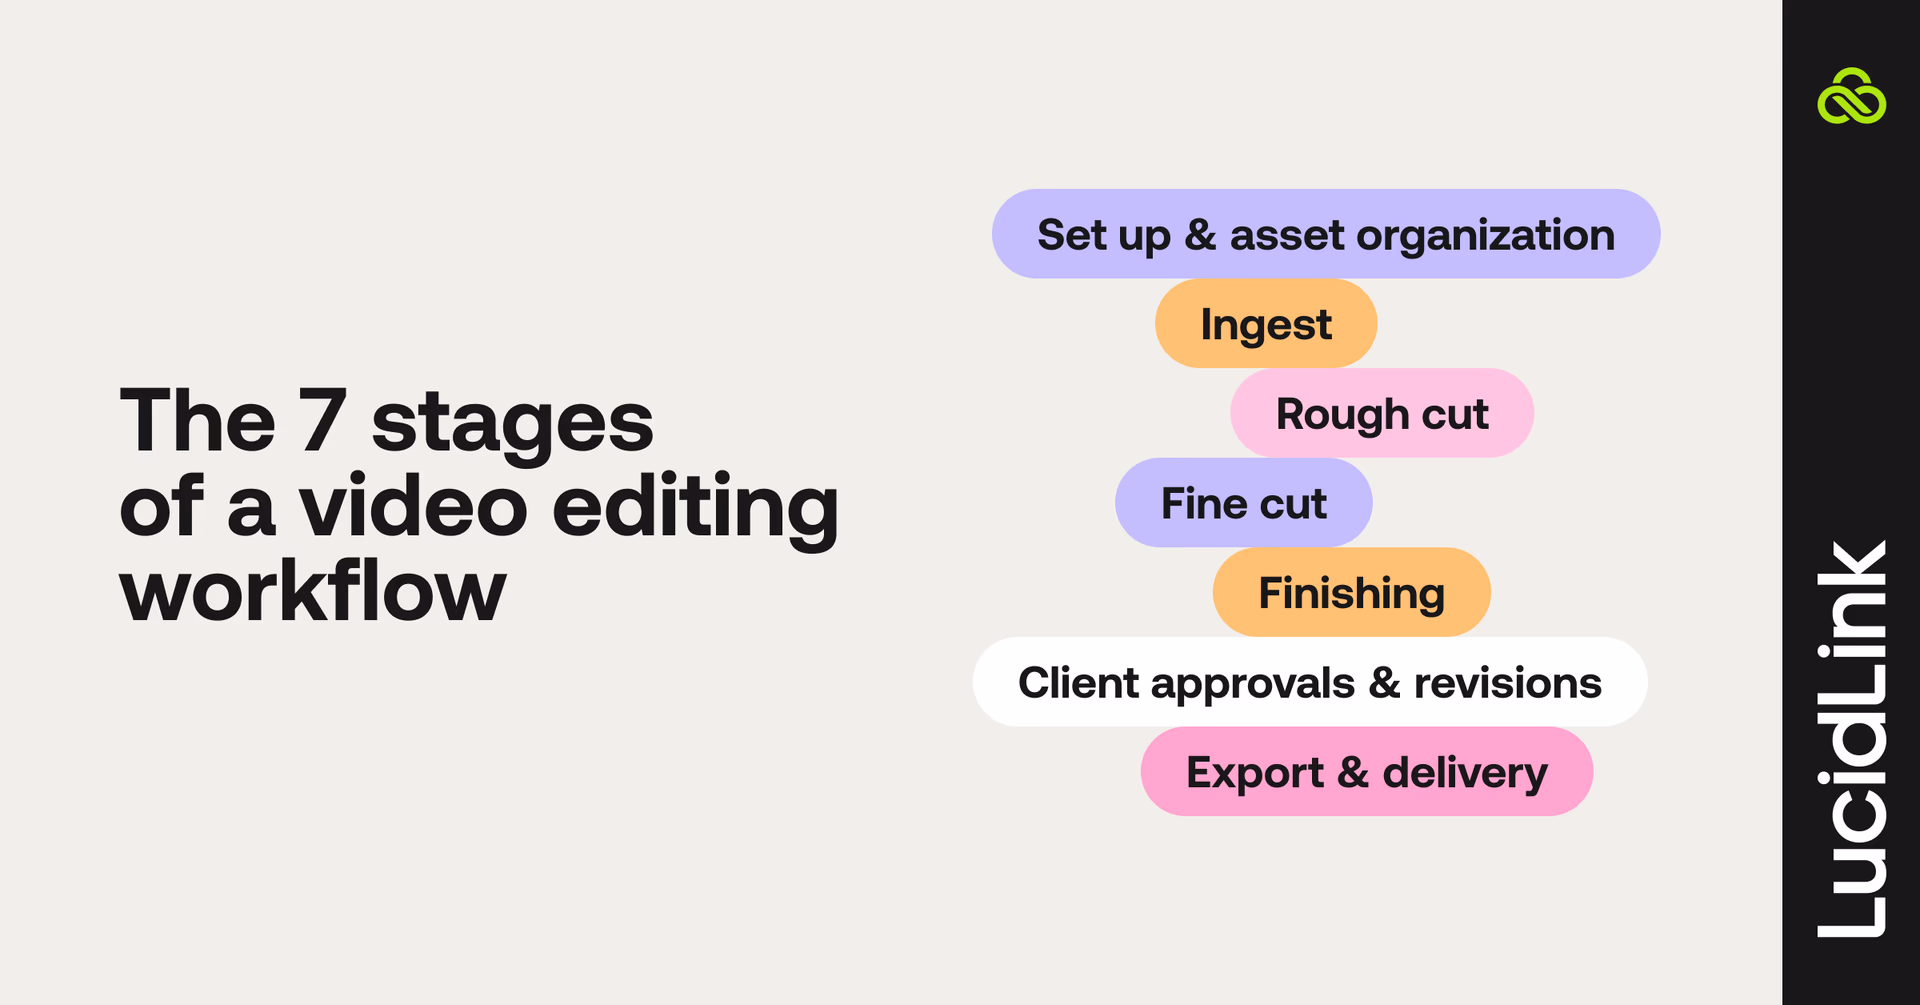
So what are the structured steps in a video editing workflow that will take you from a pile of footage to a finely tuned finished video?
For each step in our checklist, we’ll explain each stage, offer some practical advice and share a useful tip to help improve your creative collaboration.
Set up & asset organization
Ingest
Rough cut
Fine cut
Finishing
Client approvals & revisions
Export & delivery
1. Set up & asset organization
Before editing even begins, taking the time to lay out your folder structure and file naming conventions for the team in a logical and consistent fashion will pay dividends later on.
Every time you need to find something it will be quick and easy to do so.
Tip: establish a single source of truth for both project files and source media by using a central collaborative storage platform like LucidLink. This will save you more in workflow efficiencies and collaborative enjoyment than it will cost you in subscription fees.
2. Ingest
The first stage of the edit is to bring all of your footage into the system, to ‘ingest’ it in industry lingo. This involves copying the camera cards to your editing drives or uploading the media files to your collaborative storage platform of choice.
Depending on your project and the video editing software you’re using this might involve further steps such as creating proxies or transcoding media.
All of the footage needs to be organized into folders, labeled, tagged and viewed by the editor or assistant editor so they know what they have to work with.
Tip: agreeing on a video asset management strategy, including using a universal folder structure and logically consistent file naming convention across all of your projects, will make it faster for everyone to find the files they need, even if they’re new to the project or team.
3. Rough cut
Now that the editor has everything they need to work with, they can actually get started. The first stage of the edit is to build the initial structure of the video. This usually involves making sure the right people are saying the right things in the right order.
At this point, the main goal is to get the story structure working, without worrying about all the rough edges. These will be taken care of later on.
Tip: using LucidLink as the central filespace for your creative team to collaborate, eliminates the need for editors to export rough cuts for producers to download. They can just open the project and view the current progress. This saves everyone time and effort and because LucidLink looks and acts just like a local drive, there’s zero learning curve.
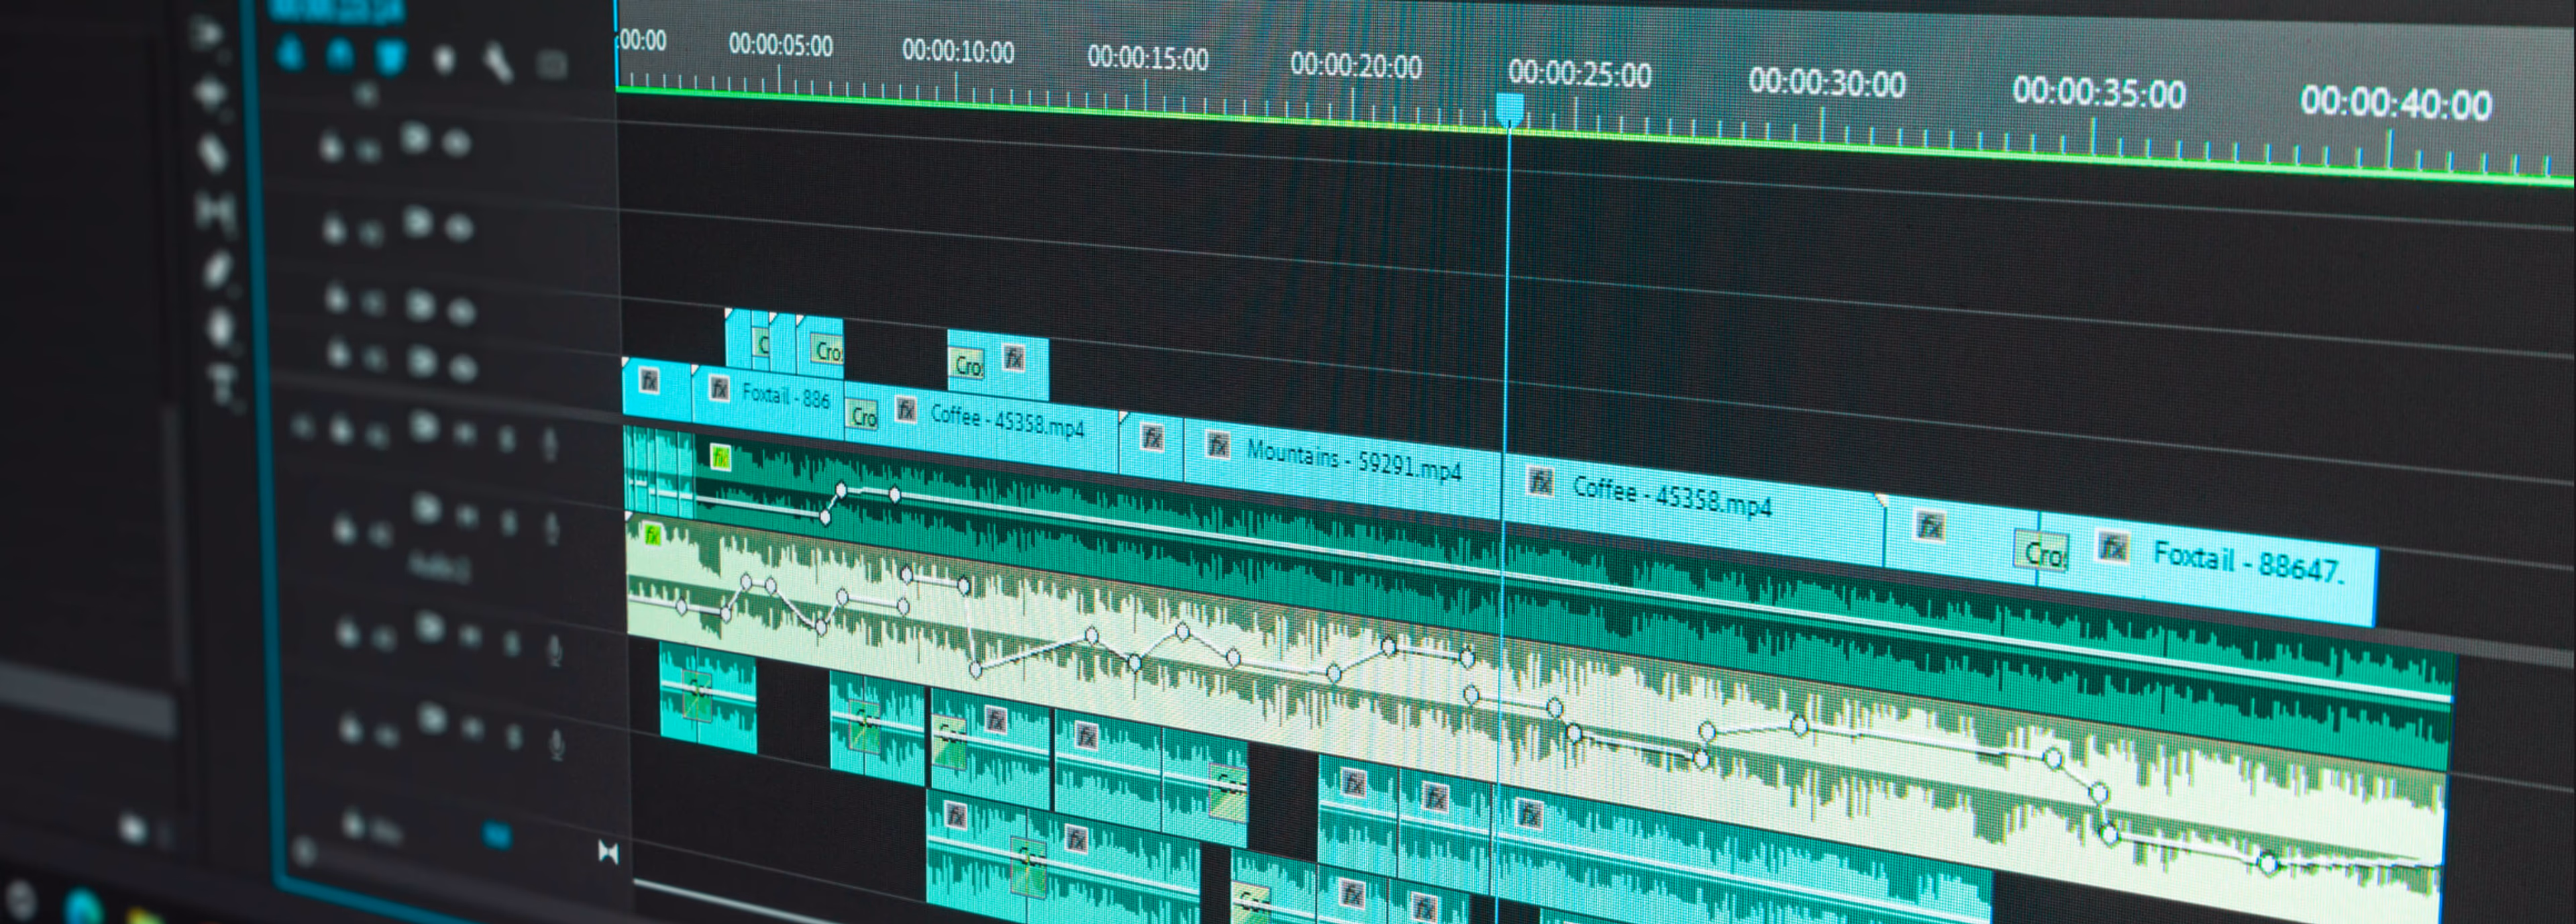
4. Fine cut
As the edit gradually iterates towards its final version it becomes more polished with the addition of illustrative b-roll footage, music and temporary graphics.
This is an inherently collaborative creative process in which different ideas are tried and tested. The more time that is given to exploring what is possible the better the final output usually is.
Tip: finding ways to shorten the feedback loop between idea and response lets you iterate through more ideas faster. That’s why real-time feedback is so crucial. LucidLink gives multiple users instant access to shared files and projects making it a real-time collaboration powerhouse.
5. Finishing
Once the internal team is generally happy with edit, it will be passed to specialized artists adept at color grading, VFX, motion graphics and sound design. These all lift the quality of the final video up several notches.
For smaller creative teams, these skills might be outsourced to dedicated professionals who have the right skills, talent and equipment to deliver on these parts of the workflow.
Tip: editing in the cloud directly from LucidLink means there’s no need to share, download and relink the hundreds of assets that might be involved in a project.
For example, say your team is using software like DaVinci Resolve for the editing, color grading, visual effects and sound design. Everyone could be working from the same shared project and media, via LucidLink, as if it was all stored on their own local hard drives.
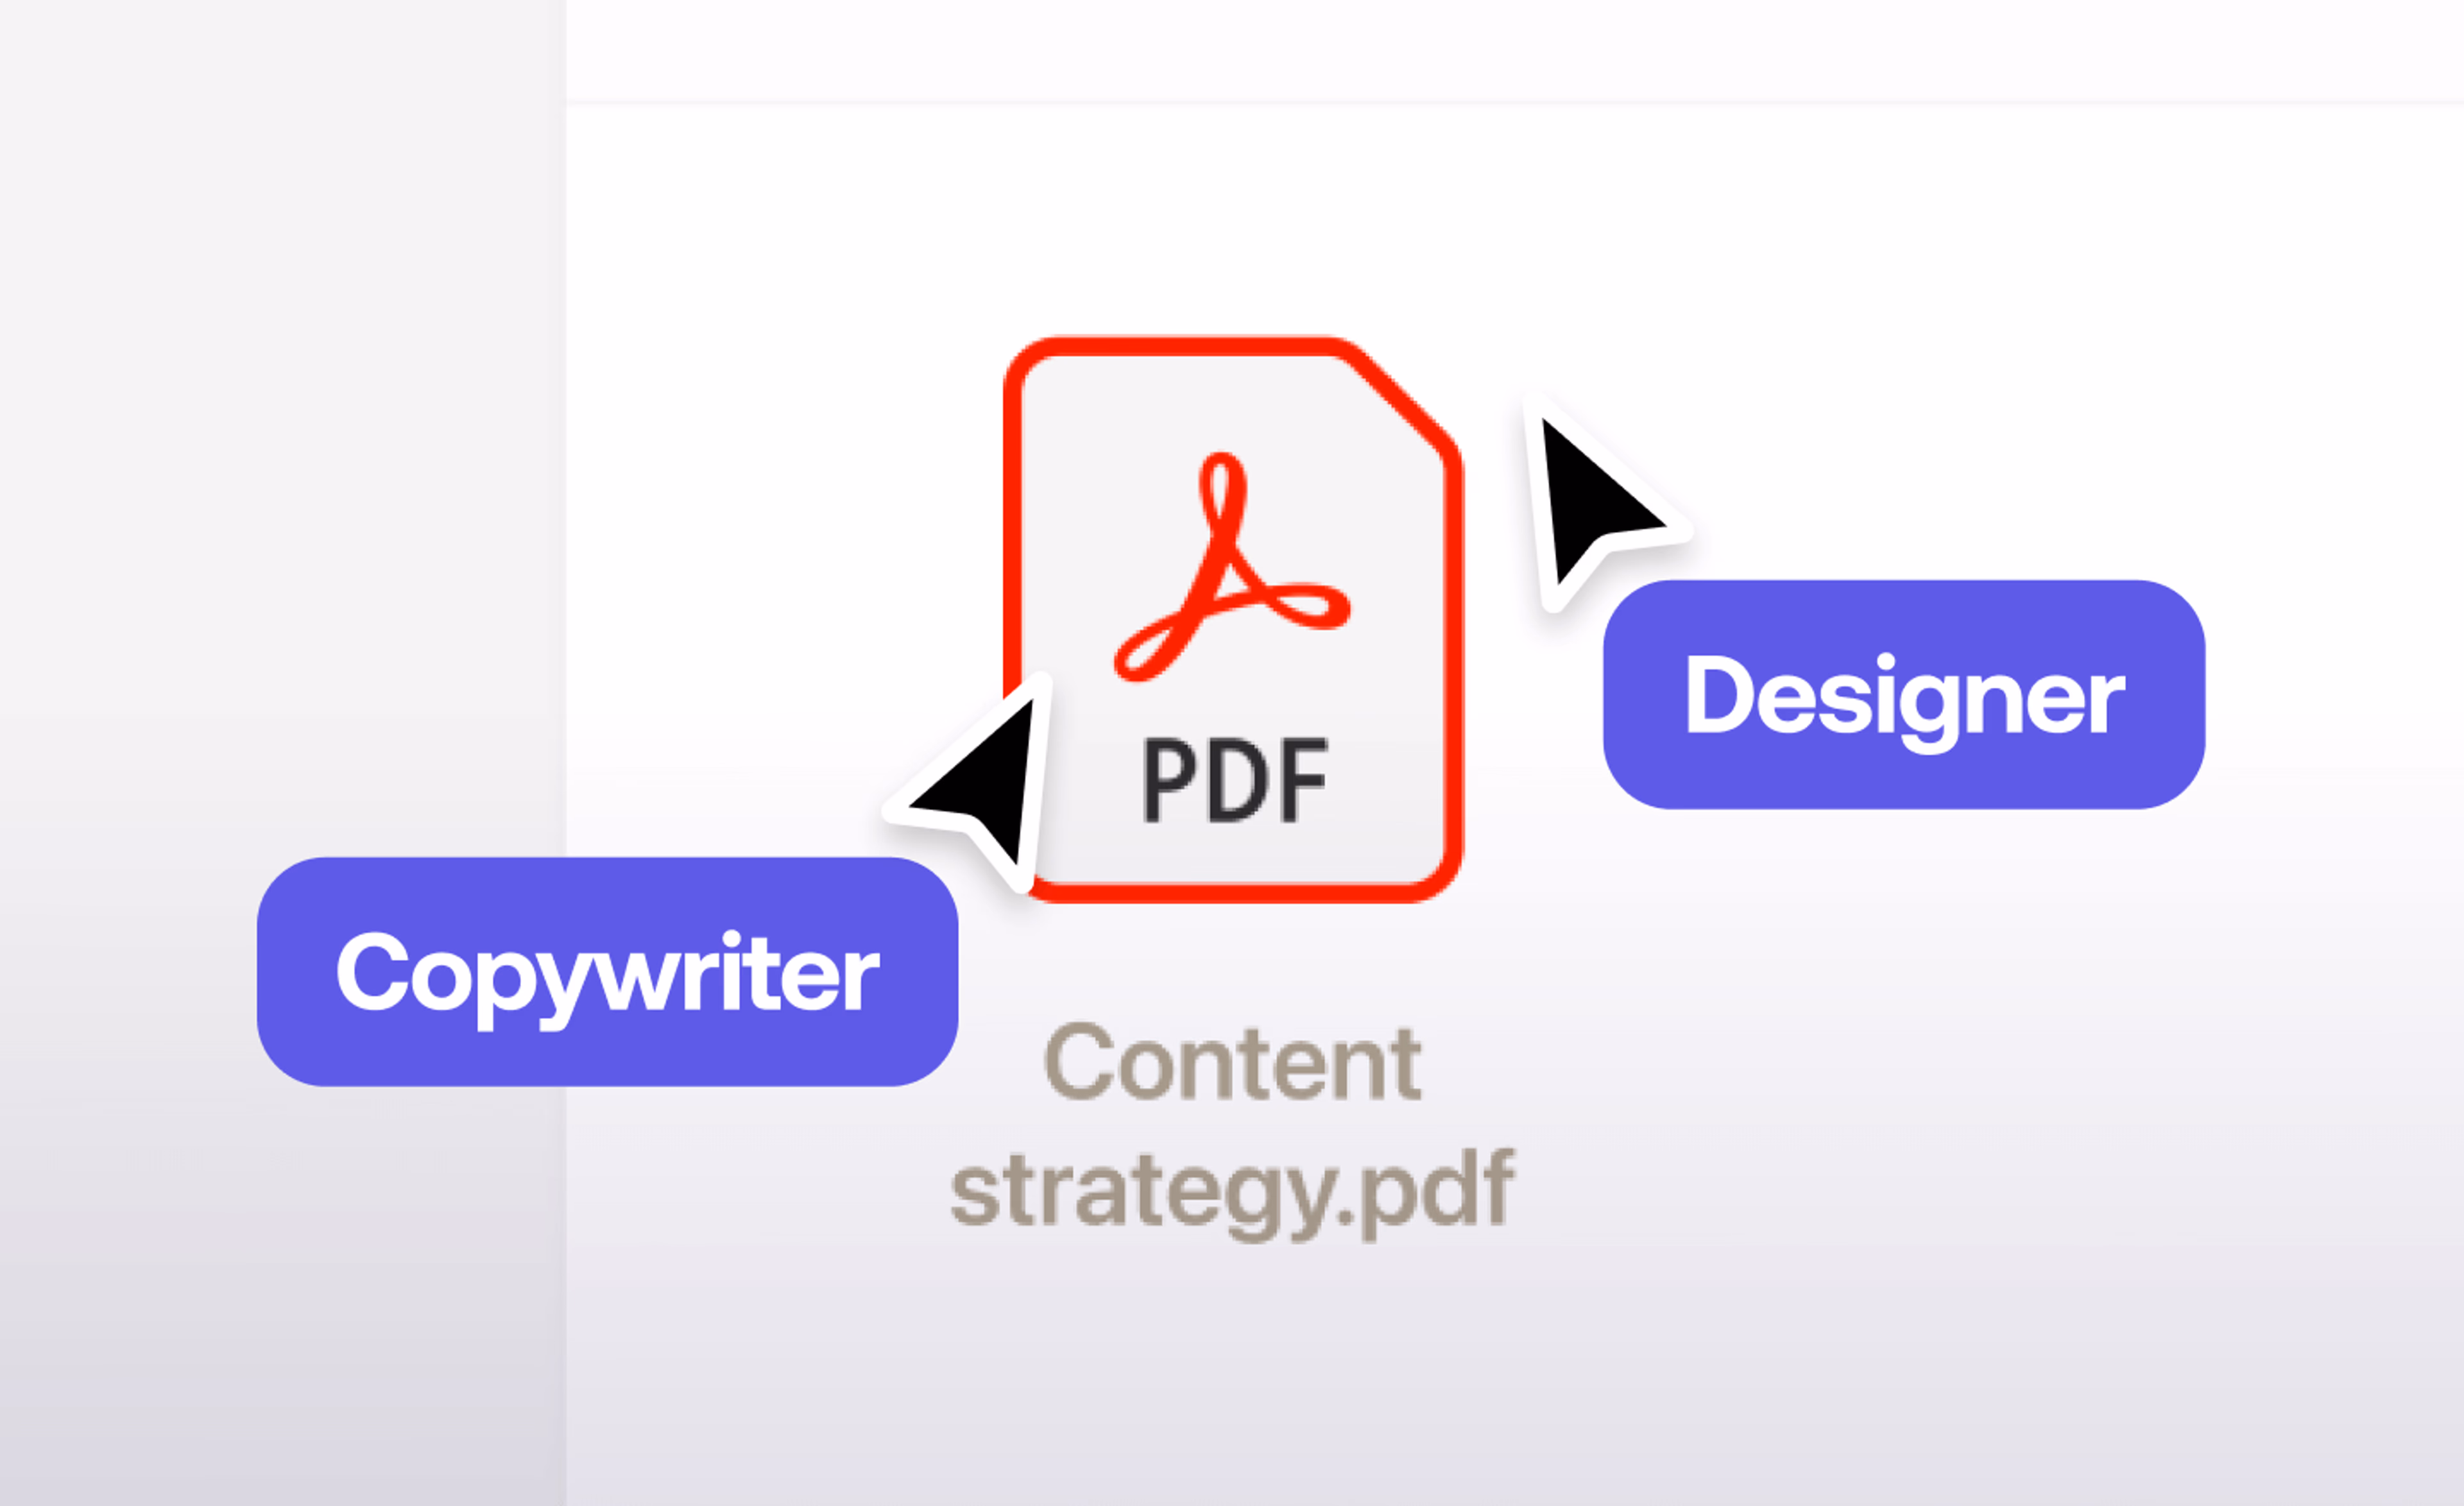
6. Client approvals & revisions
This element of a video editing workflow often occurs several times during the previous stages. If the client is savvy enough to understand the limitations and goals of a rough cut they might have fed back on a less polished version of the project.
Otherwise, sending them a review link to view the ‘almost final’ version of the project can help avoid confusion, but if they make more drastic changes, more work may have to be redone.
Tip: the review process can often generate endless new versions as ‘just one more tweak’ is made. That’s why it’s best to consolidate and agree on the actionable feedback from every stakeholder before starting work on the revisions. It is also why it’s a good idea to pre-limit the number of rounds of changes a client or stakeholder can make.
7. Export & delivery
Once your client or stakeholder is happy and the project is signed off, the final files need to be exported and delivered in the appropriate specification for their destinations. That could be everywhere from cinema screens to iPads, but it all needs to work and look right.
Establishing the requirements for the deliverables at the very beginning of the project can help avoid any last-minute surprises or additional work.
Tip: having your team export files straight to your shared LucidLink filespace helps ensure that everyone always has access to the latest version of the file. And sharing the file between peers and stakeholders is easy and secure.
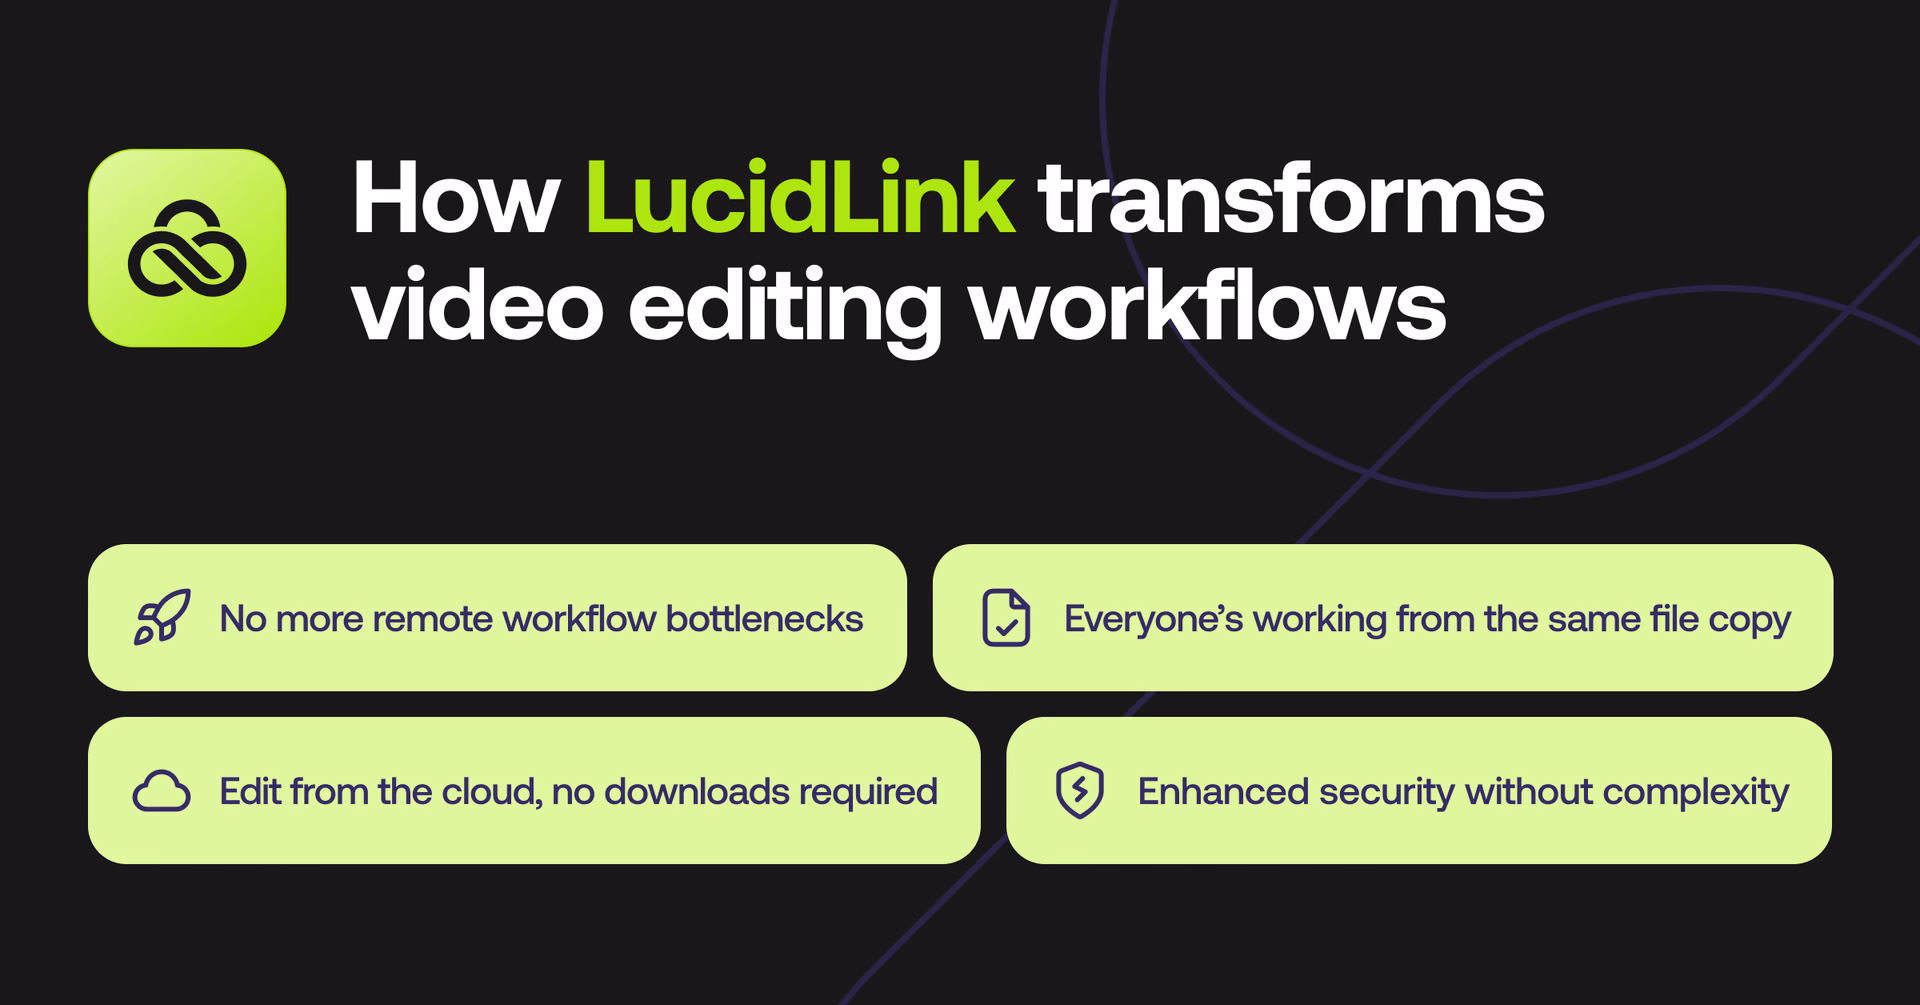
How LucidLink transforms video editing workflows